 Anacortes Window
 Building New in the Skyline Area: What the Site Actually Demands
If you're framing a new home or an addition in the Skyline area near Anacortes, the windows are one of the few components that have to get everything right on the first try. Once siding and interior finish go on, a poorly flashed window becomes a hidden problem instead of a visible one. Skagit County's mix of salt-laden air off the Sound, long stretches of driving rain, and a moss season that keeps north-facing surfaces damp for months puts real demands on both the window unit and the installation detailing around it. New construction gives you one real chance to build the water management right into the wall before it's covered up.
We work new-build and addition projects in this area regularly, which matters because the failure points we see aren't generic — they're specific to how this region's weather actually behaves against a house.
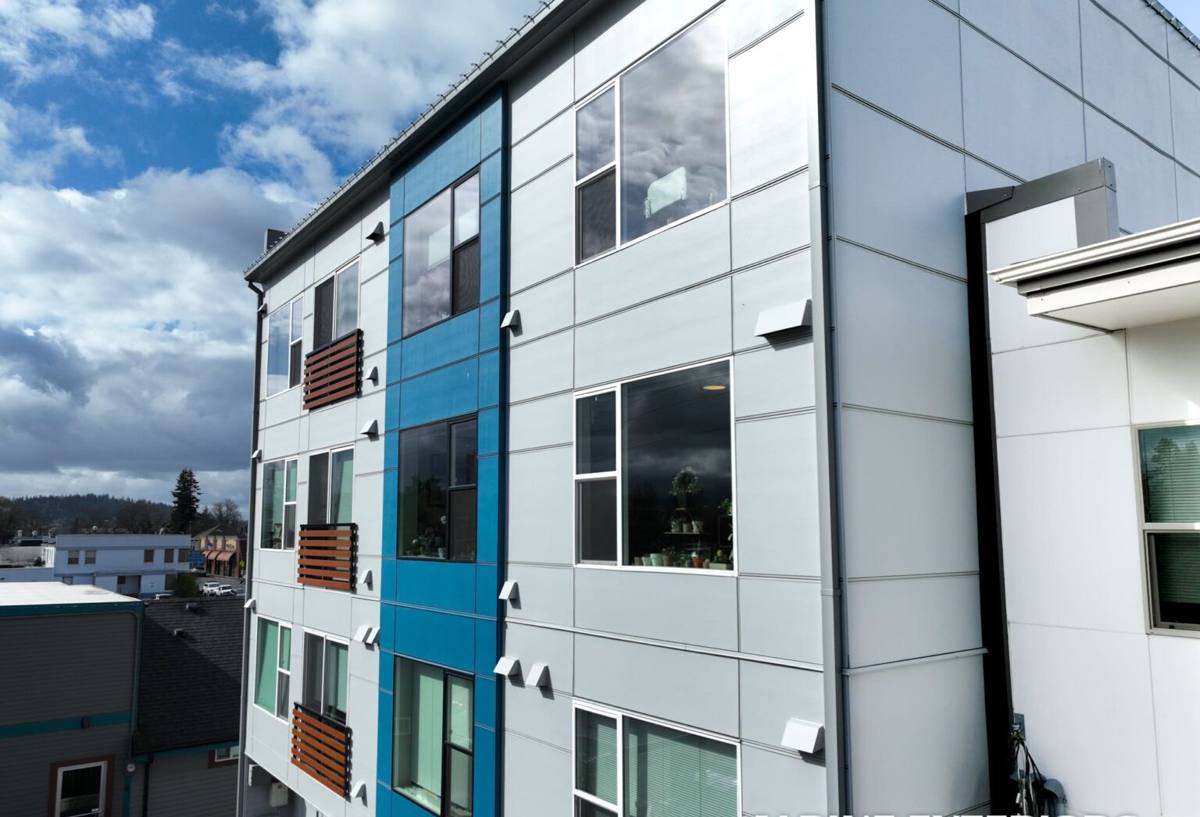
New Construction vs. Replacement: Why We Don't Treat Them the Same
New-construction windows are installed into open framing before the exterior weather barrier and siding are complete. That's a different job than a replacement, where we're working around existing finished walls. New construction gives us access to the full rough opening, the housewrap or weather-resistive barrier (WRB), and the sheathing — which means we can build a proper drainage plane from scratch instead of working around one that's already closed up.
The trade-off is that new construction only works if the sequencing is right. Windows have to go in at the correct point relative to the WRB, flashing tape, and sill pan — not before, not after. On a job site with multiple trades moving fast, that sequencing is where corners get cut. It's also where a crew that's done this specific sequence hundreds of times in wet coastal framing conditions earns its keep.
Nail-Fin vs. Block-Frame Units
Most new construction in this area uses nail-fin (flange) windows, which fasten directly to the sheathing through an integral fin and get flashed in shingle-fashion with the WRB. Some higher-end or masonry-adjacent builds use block-frame units set into a rough opening with separate flashing details. Either approach works when installed correctly — the fin style is more common and generally more forgiving for standard wood-frame construction, which describes most homes going up in and around Anacortes.
What a Correct Install Actually Involves
A window opening is really a small roof turned sideways — water has to be directed out and down, never allowed to pool or wick inward. For new construction, the sequence we follow is:
- Sill pan first. A sloped, sealed pan under the rough opening so any water that gets past the window has somewhere to go besides the framing.
- Back-dam and end dams. Small raised details at the pan edges that keep water from running out the sides or back into the wall cavity.
- Jamb and head flashing integrated with the WRB in the correct shingle-lap order — head flashing always goes over the housewrap above it, never under.
- Proper fastening per the manufacturer's schedule, shimmed square and plumb so the sash operates correctly and weatherstripping seals evenly for the life of the window.
- Interior and exterior sealant joints at the right locations — sealing everything solid, including the bottom of the sill pan, traps water instead of draining it, which is a mistake we still see from crews unfamiliar with modern pan-flashing systems.
None of this is exotic. It's also not optional — skipping or rushing any one step is how a house ends up with hidden rot behind the siding five or ten years later, often in a spot that never showed a stain until the wall was opened up.
Why the Regional Climate Changes the Details
Anacortes sits close enough to the water that salt air is a real factor for exterior hardware, cladding fasteners, and any exposed metal flashing. We spec corrosion-resistant fasteners and flashing metals for builds in this area rather than defaulting to whatever's standard inland. Driving rain off the Sound also means wind-driven water testing every lap and seam in the flashing assembly, not just gravity — which is why lap order and tape adhesion at seams matter more here than in a drier climate.
The long moss season is less about the windows themselves and more about what surrounds them. North- and shade-facing walls stay damp longer into the spring, and any window opening near a roofline, gutter, or overhang that's collecting moss-driven moisture needs extra attention to drainage and clearance. On new builds we look at the whole water path — roof, gutter, siding, window — as one connected system rather than treating the window as an isolated component.
Product Considerations for This Area
For new construction in Skagit County's coastal climate, we generally steer homeowners and builders toward vinyl or fiberglass frames with a warm-edge, dual- or triple-pane glass package. Wood and wood-clad windows can look excellent, but they carry a real maintenance burden in a climate with this much sustained moisture exposure — exposed exterior wood trim and sills need consistent upkeep to avoid rot, and that's an honest trade-off worth knowing before you commit, not a defect in the product itself.
| Frame Material | Moisture Behavior | Maintenance | Typical Fit for This Area |
|---|---|---|---|
| Vinyl | Won't rot or corrode; dimensionally stable | Low — occasional cleaning | Strong default for most new builds |
| Fiberglass | Very stable in temperature/moisture swings | Low | Good upgrade where larger units or dark colors are used |
| Wood / wood-clad | Handsome, but exterior wood needs protection from sustained damp | Higher — periodic refinishing | Workable with disciplined maintenance; more exposure risk near the water |
| Aluminum | Conducts heat/cold; can condense in our damp winters | Moderate | Mostly limited to commercial or specific architectural uses |
Glass packages matter as much as frame material. For new construction near the Sound, we typically recommend Low-E dual-pane as the baseline, with argon fill and a warm-edge spacer to cut down on interior condensation during the wetter, colder months. Triple-pane makes sense on north-facing rooms or homes prioritizing energy performance, but it's a cost-and-weight trade-off worth discussing against your specific floor plan rather than a default upgrade for every opening.
Cost Factors Worth Planning Around
Pricing on new-construction window packages varies a lot by unit count, size, and glass spec, so we won't quote a number here that wouldn't hold up project to project. What we can tell you is what actually moves the number:
| Factor | Why It Matters |
|---|---|
| Frame material | Vinyl is generally the most budget-friendly baseline; fiberglass and wood-clad run higher |
| Glass package | Triple-pane and specialty coatings add cost per unit, multiplied across the whole opening count |
| Unit size and count | Larger openings and picture windows cost more per square foot than standard operable sizes |
| Flashing and pan system | A proper sill-pan and flashing system adds labor time but is not a place to cut corners on a coastal build |
| Site access and scheduling | Coordinating install timing with framing and WRB installation affects labor efficiency |
How Our Process Works on a New-Build Job
For new construction we coordinate directly with the general contractor or homeowner-builder on timing, since window installation has to land at a specific point in the framing-to-siding sequence. Typically that looks like:
- Reviewing the window schedule and rough openings against the plans before units are ordered, catching sizing or swing-direction issues early.
- Confirming WRB and flashing tape compatibility with the specified window line — not every tape and every window flange play well together, and that's a detail we check before install day, not during it.
- Installing sill pans, flashing, and units in the correct sequence as framing and WRB progress.
- Final adjustment and operation check on every unit — sash alignment, hardware function, and weatherstrip seal — before we sign off.
A Practical Checklist Before Install Day
- Confirm final rough opening sizes match the ordered window schedule — field-verify, don't rely on plan dimensions alone.
- Confirm WRB is installed and lapped correctly at each opening before windows arrive.
- Confirm sill pan material and flashing tape are compatible with the window manufacturer's installation instructions.
- Walk the site for any openings near rooflines, decks, or overhangs where extra drainage detailing is needed.
- Confirm fastener and flashing metal specs account for the salt-air exposure of this area.
- Schedule install to avoid installing into wet or actively rain-loaded sheathing where possible.
Why a Crew That Already Works Near Anacortes Matters
New-construction window installation isn't complicated in theory, but it's unforgiving in practice — every shortcut gets sealed behind siding and doesn't show up until there's a problem. A crew that regularly works new builds in and around Anacortes has already worked through the coordination issues specific to this area: matching flashing systems to what actually holds up against wind-driven rain off the Sound, specifying hardware that won't corrode early in salt air, and sequencing install timing around a construction season that includes a long stretch of damp, moss-friendly weather. That local repetition is what keeps a new-construction window package performing the way it's supposed to for decades, not just at final inspection.
If you're planning new construction or an addition in the Skyline area and want your window package specified and installed right the first time, we're glad to walk the plans with you and give you a straightforward, no-pressure estimate — just fill out the form below.