 Anacortes Window
 Building New in Ship Harbor Means Building for the Weather You'll Actually Get
Ship Harbor sits close enough to the water that salt-laden air, wind-driven rain, and a long stretch of damp, low-light months are simply part of owning a home here. When a house is going up from the ground, new-construction windows are one of the few components you only get to install correctly once before siding, trim, and interior finishes close everything in. Get the flashing and sequencing right at rough-in, and the windows perform for decades. Get it wrong, and the mistake gets buried behind drywall until a leak or a rotted sill forces it back open.
We install new-construction windows for builders and homeowners working in and around Anacortes and Skagit County, and Ship Harbor's exposure — open sightlines to the water, salt in the air, and rain that comes in sideways more often than straight down — shapes how we approach every step, from the window units we recommend to how we detail the rough opening.
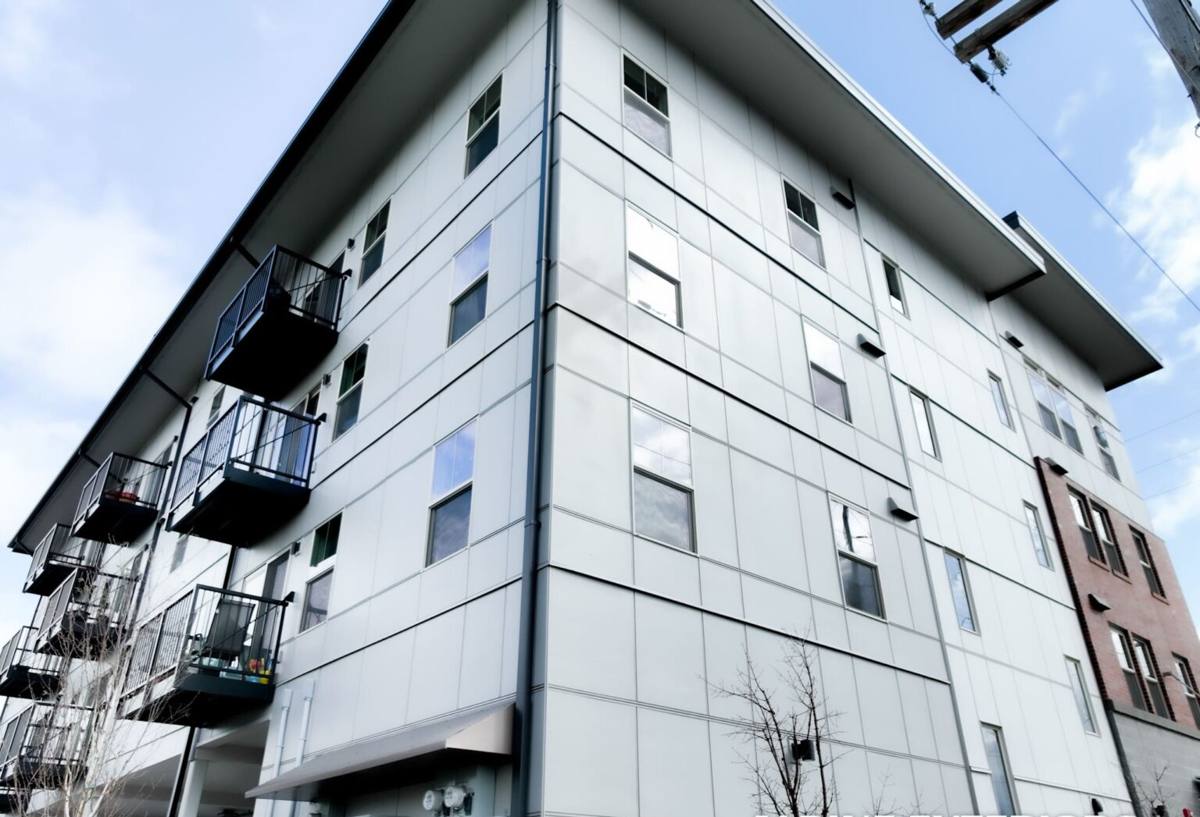
New Construction vs. Retrofit: Why the Approach Is Different
New-construction windows have a nailing fin (or flange) built into the frame that gets fastened directly to the sheathing before the weather-resistive barrier and siding go on. That's different from a retrofit or "pocket" window, which slides into an existing frame after the fact. On a new build, we have full access to the rough opening, the sheathing, and the water-resistive barrier — which means there's no excuse for skipping any layer of the drainage plane. This is the installation method that gives the best long-term protection against wind-driven rain, and it's the standard we build to on every new-construction job.
What a Correct Installation Sequence Looks Like
- Rough opening is checked for square, level, and correct dimension before the window ever arrives on site.
- Sill pan flashing is installed first, sloped to drain water outward, not into the wall cavity.
- Window is set, shimmed level and plumb, and fastened per the manufacturer's schedule — not just "close enough."
- Jamb and head flashing integrate with the housewrap in the correct shingle-lap order, so water always sheds downward and outward.
- Interior and exterior sealant joints are placed only where they belong — sealing the wrong joint can trap moisture instead of stopping it.
Skip step two or get the shingle-lap order backwards in step four, and you've built a path for water to travel behind the siding instead of off of it. On a site exposed to Ship Harbor's weather, that mistake shows up faster than it would somewhere more sheltered.
Frame Materials: What Holds Up Near the Water
Every frame material handles salt air and sustained moisture differently. There's no single "best" choice for every project — it depends on your budget, the home's design, and how much upkeep you want to take on.
| Frame Material | How It Handles Salt Air & Moisture | Maintenance | Typical Fit |
|---|---|---|---|
| Vinyl | Won't corrode or rot; performs well near the coast | Low — occasional cleaning | Value-focused builds, rentals, most residential new construction |
| Fiberglass | Very stable in temperature swings and moisture; strong long-term coastal performer | Low | Custom homes, larger openings, higher-end builds |
| Aluminum-clad wood | Good if clad joints and finish are maintained; wood core needs the cladding to stay intact | Moderate — watch cladding seams and interior wood finish | Architectural styles wanting a wood interior look |
| Bare wood | Attractive but the most vulnerable to a damp, salt-air climate over time | High — regular refinishing | Historic-style projects where owners commit to upkeep |
| Uncoated/mill aluminum | Prone to corrosion and condensation in a marine climate without a protective finish | Moderate to high | Rarely our recommendation for Ship Harbor |
We don't push bare wood or unclad aluminum on Ship Harbor builds as a first recommendation — not because either is a bad product, but because the maintenance burden they carry in a marine climate is real, and most homeowners underestimate it until year five or six. If a homeowner wants that look and understands the upkeep, we'll install it correctly and tell them straight what the maintenance schedule looks like.
Glass and Performance Specs Worth Getting Right the First Time
New construction is the cheapest point in a project's life to spec glass correctly — retrofitting better glass later means replacing the whole unit. A few numbers matter more than marketing language:
- U-factor — measures how well the window resists heat loss; lower is better for our winters.
- SHGC (Solar Heat Gain Coefficient) — matters more on south- and west-facing water-view glass, where you're weighing daylight against summer heat gain.
- Low-E coatings — help manage both heat loss and UV fading on interior finishes.
- Argon or krypton gas fill — improves insulating performance between panes; check that the seal warranty covers gas retention, not just glass breakage.
- NFRC label — the only way to verify these numbers are independently rated rather than a manufacturer's marketing claim.
For homes with open water exposure, we also talk through condensation resistance — a home with a lot of glass facing the harbor will see more interior humidity swings than an inland build, and the right glass package reduces window "sweating" on cold, damp mornings.
Cost Factors on a New-Construction Window Package
Pricing on a whole-house window package for a Ship Harbor build depends on several things that are worth discussing early with your builder, not after the walls are framed:
- Total glass area and number of openings — more and larger units raise both material and labor cost.
- Frame material chosen (see the comparison above).
- Performance glass package — upgraded Low-E coatings and gas fills add cost but pay back in comfort and lower energy bills.
- Custom shapes or oversized units, common in water-view designs, which cost more to fabricate and install than standard rectangular sizes.
- Site access and staging — waterfront and hillside lots in this area sometimes require extra handling for large units.
Coordinating With Your Builder's Timeline
New-construction windows are a sequencing job as much as an installation job. We work directly with general contractors to confirm rough opening sizes before framing is finalized, so there's no scrambling to resize an opening after the fact. We coordinate delivery and install around the housewrap and siding schedule, since windows need to go in after the WRB is up but before siding closes over the flashing. On a site like Ship Harbor, where a stretch of driving rain can shut down exterior work for days, we also build in realistic weather contingency rather than promising a date we can't hold to in this climate.
Our New-Construction Process
On every new build we work in Ship Harbor and the surrounding Anacortes area, the process looks the same regardless of window brand or budget:
- Review plans and rough opening schedule with the builder or homeowner before framing locks in.
- Confirm frame material and glass package based on the home's exposure and the owner's budget.
- Order and verify units against the approved schedule before they ship.
- Install sill pan flashing, set and fasten units, and integrate flashing with the WRB in correct shingle-lap order.
- Walk the completed openings with the builder before siding closes them in, so any adjustment happens while it's still accessible.
That walk-through before siding goes on is a step some crews skip. We don't, because it's the last point where a flashing detail can be corrected without tearing into finished work.
Checklist: What to Confirm Before Windows Go In
- Rough openings match the approved window schedule, not just "close enough" field measurements.
- Sill pan flashing is specified and on site before install day.
- Frame material and glass package are confirmed in writing, including U-factor and SHGC.
- Installer's flashing sequence has been discussed with your general contractor, not left to assumption.
- Manufacturer's installation instructions are on hand — warranty coverage often depends on following them exactly.
Why Local Installation Experience Matters on This Site
A window installed correctly in a sheltered inland lot can be installed incorrectly on an exposed Ship Harbor site and not show a problem for a year or two — driving rain and salt air expose weak flashing details faster than a mild climate does. Crews who mostly work drier, inland jobs sometimes treat sealant as the primary defense against water intrusion; on this site, sealant is the last line of defense, not the first. The flashing and drainage plane have to do the real work. Working regularly in Skagit County's coastal conditions means we detail every opening assuming the rain will come in sideways at some point, because on this stretch of coastline, it eventually will.
What to Expect in the First Few Years
Even a correctly installed window benefits from a little seasonal attention in a climate like this. Moss and organic growth build up quickly on sills and tracks during Skagit County's long wet season, and left alone it holds moisture against the frame longer than it should. Salt air can dull exterior hardware finishes faster than an inland home would see. None of this reflects a failed installation — it's normal upkeep for a coastal property, and we're glad to walk new homeowners through a simple seasonal maintenance routine so the windows perform the way they're supposed to for the long haul.
If you're planning a new build in Ship Harbor and want windows detailed correctly from the rough opening out, we're happy to take a look at your plans and put together a straightforward, no-pressure estimate — just fill out the form below.