 Anacortes Window
 New-Construction Windows Are a One-Shot Job
Bow sits between Anacortes and Bellingham along Samish Bay, and most of the new building happening out here is exactly that — new. New-construction window installation is a different job than replacing an old window in an existing wall. The window goes in with the wall still open: sheathing exposed, weather-resistive barrier (WRB) either just hung or about to be, and siding not yet started. That's an advantage, because it means the flashing and water management can be built correctly from scratch instead of patched around old work. It's also less forgiving, because once the siding closes the wall up, whatever flashing decisions got made are hidden for the life of the house.
That's the core of why this page exists as its own thing rather than folding into a general new-construction windows page. A new-construction install in Bow has to answer to this specific stretch of Skagit County — the salt air coming off the bay, the wind-driven rain, and the shaded, damp conditions that keep moss active most of the year. Getting the window right here means designing for all three, not just following a generic install checklist.
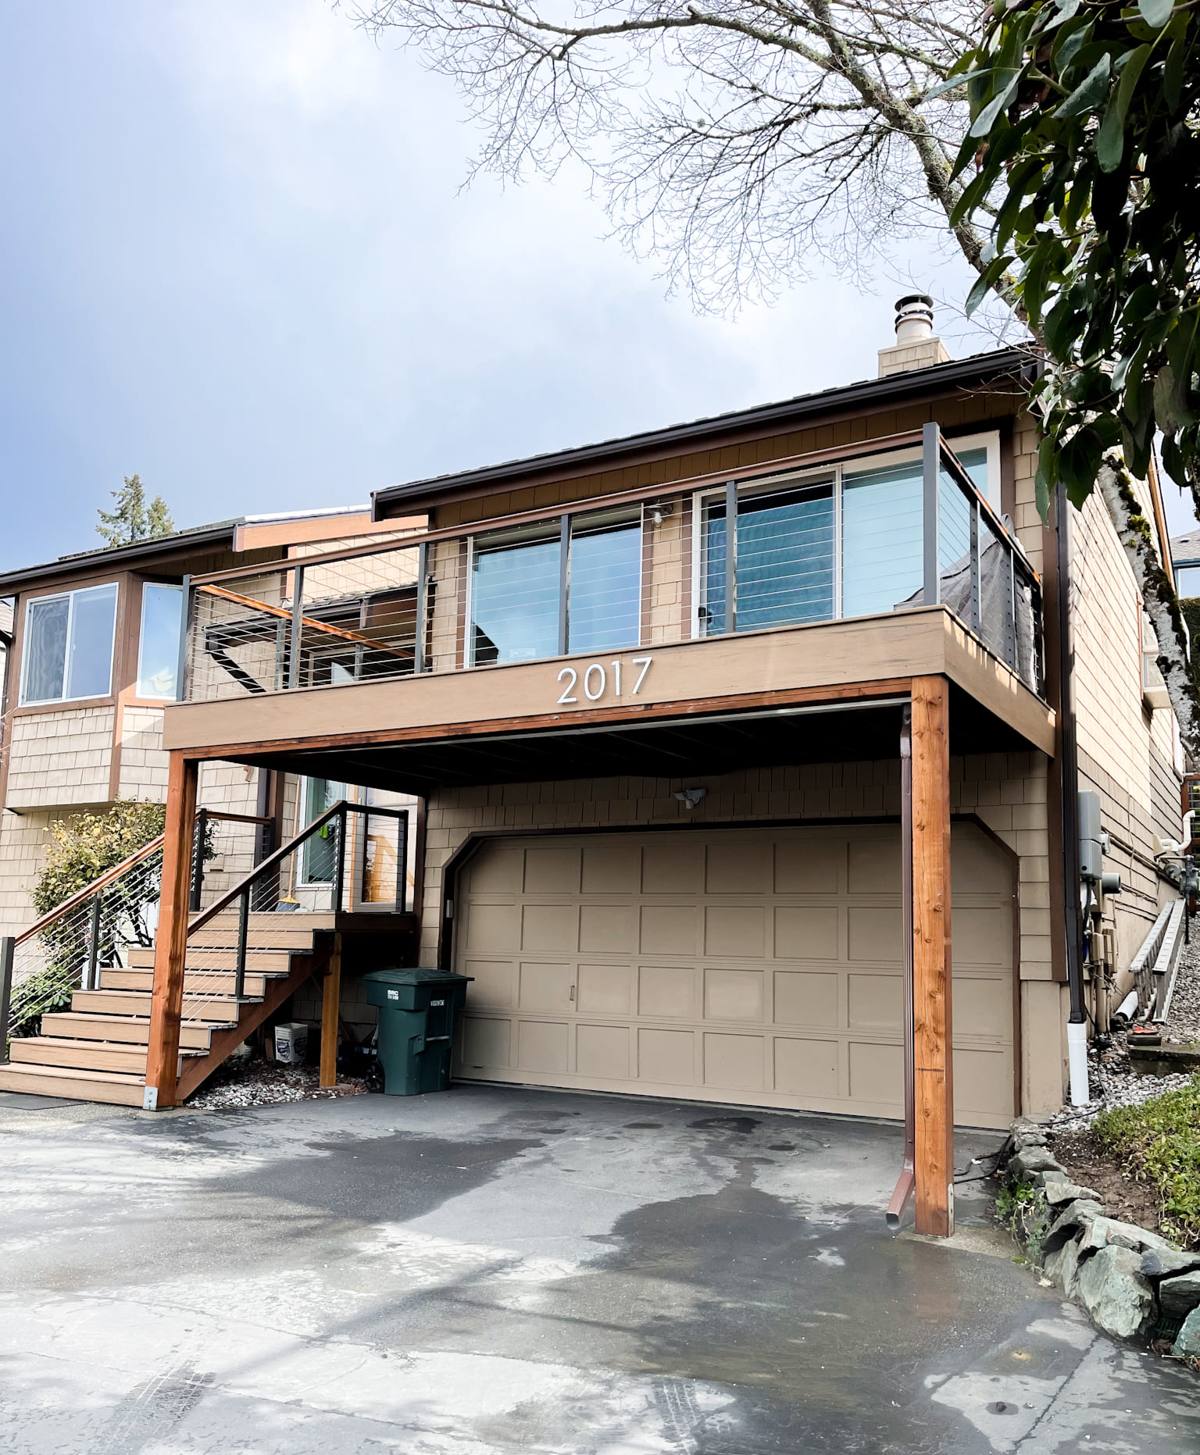
What Bow's Climate Actually Asks of an Installer
Bow doesn't get the harshest weather in Western Washington, but it gets a steady, grinding version of it. That matters more for a window install than a single big storm would.
Salt Air Off Samish Bay
Homes closer to the water pick up airborne salt that settles on hardware, fasteners, and exposed metal. Over years, that accelerates corrosion on lower-grade fasteners and hinges, which is why fastener and hardware selection isn't a cosmetic detail out here — it's a maintenance-cost decision the homeowner lives with for decades.
Driving Rain
Wind off the bay pushes rain sideways into wall assemblies rather than letting it run straight down. That means flashing details that would be "good enough" in a drier inland climate — a bead of sealant instead of a proper lapped flashing sequence — don't hold up here. Water finds the path of least resistance, and in wind-driven rain that path is often sideways and upward before it's ever downward.
Long Moss Season
Tree cover and persistent dampness keep moss active on roofs, siding, and trim for much of the year in this area. Moss holds moisture against surfaces longer than open, sunny walls would, and moss-clogged gutters or valleys can redirect water onto wall sections that weren't designed to handle it. A window flashing detail that's marginal on a dry, sun-exposed wall can become a real problem on a shaded, moss-prone one.
The Install Sequence That Keeps Water Out
There's a correct order of operations for a new-construction window install, and skipping or reversing steps is how most water problems get built into a house permanently.
Sill Pan First
Before the window ever sits in the opening, the rough sill gets a sloped, sealed pan — usually a flexible flashing membrane formed up the jambs and sloped slightly to the exterior. This gives any water that does get past the window a way out instead of a place to pool.
Shingle-Lap Order at Jambs and Head
Flashing at the sides and top has to integrate with the WRB in shingle fashion — each layer overlapping the one below it — so water sheds downward and outward no matter where it enters the assembly. Head flashing goes in last, lapped over the WRB above the window, never tucked under it.
Fastening, Shimming, and Sealant Placement
The nailing fin gets fastened per the manufacturer's schedule, the unit gets shimmed square and plumb, and low-expansion foam or backer rod and sealant go only where the manufacturer's details call for them — not everywhere, since sealing the wrong joint can trap moisture instead of shedding it. Weep paths at the sill stay clear so incidental water can still drain.
None of this is exotic. It's standard trade practice. The issue in a wind-driven-rain, salt-air climate is that there's very little margin for shortcuts — a detail that's "close enough" elsewhere shows up as a leak here within a few seasons rather than a decade.
Choosing a Window Built for This Site
Material choice affects how a window ages near the bay more than it does further inland. There's no single right answer for every home — it depends on budget, exposure, and how the house is oriented — but the trade-offs are worth knowing up front.
| Material | Salt Air / Moisture Behavior | Maintenance | Typical Fit |
|---|---|---|---|
| Vinyl | Won't corrode or rot; performs well in coastal air | Low — occasional cleaning | Budget-conscious builds, rentals, most standard new construction |
| Fiberglass | Very stable dimensionally, handles moisture and temperature swings well | Low | Higher-exposure walls, larger openings, homes built for the long haul |
| Wood-clad | Good performance if cladding and flashing are installed correctly; interior wood needs protection from condensation | Higher — finish and joint upkeep | Design-driven projects where interior wood look is a priority |
Whatever material is chosen, the glass package matters as much as the frame. In a marine climate, a low-E coating tuned for the Pacific Northwest (rather than a hot-climate package) balances heat retention against solar gain, and argon fill helps with both energy performance and reducing interior condensation on cold, damp mornings — a common complaint in shaded, poorly-ventilated new builds if the glass package is mismatched to the site.
Meeting Code Without Guessing
New construction gets inspected, and Skagit County's building department checks window installs against Washington's energy and building code requirements as part of that process. Two areas come up on nearly every job:
- Energy performance: Washington's energy code sets U-factor targets for windows as part of the whole-house energy path; the window schedule needs to hit those numbers, not just look close.
- Egress: Bedroom windows need to meet minimum clear opening width, height, and area, and sill height can't exceed code maximums — this has to be checked against the actual window schedule before ordering, not assumed from the floor plan.
Safety glazing is also required near doors, at low sill heights, and in a few other specific locations the code spells out. These aren't judgment calls — they're pass/fail items at inspection, so we confirm them against the window schedule before product gets ordered, not after it shows up on site.
How We Handle a New-Construction Job in Bow
- Walk the framing with the builder or homeowner once rough openings are in, and check them against the window schedule before anything is ordered.
- Finalize product selection — material, glass package, and any code-driven sizing — and confirm lead times so the install doesn't hold up the framing crew.
- Coordinate delivery and staging so units aren't sitting exposed on site longer than necessary.
- Install in sequence with the WRB — flashing and windows go in as part of the water-management system, not as an afterthought once siding starts.
- Document the flashing and install details before the wall closes up, since this is the only point in the project where that work is visible.
- Final walk-through and punch list with the builder or homeowner before the crew moves off site.
Why a Crew That Already Works Bow Matters
A lot of new-construction window problems trace back to scheduling, not skill. Flashing work needs a dry window to install correctly, and a crew unfamiliar with this stretch of Skagit County's weather patterns will get caught mid-install by a rain system more often than one that plans around it. A local crew also has a working relationship with the county's inspection expectations, knows realistic lead times for the products that actually get used out here, and can coordinate directly with the general contractor's framing and siding schedule instead of working in isolation. On a new build, the window install sits in the middle of several other trades' timelines — being easy to schedule with is part of doing the job well.
What Drives the Cost
Every new-construction window quote is a little different, but the factors that move the number are consistent:
| Factor | Why It Matters |
|---|---|
| Window material | Vinyl, fiberglass, and wood-clad carry different material and long-term maintenance costs |
| Size and quantity | Larger openings and whole-house counts affect both material and labor pricing |
| Glass package | Upgraded low-E coatings, argon fill, or higher-performance ratings add cost but reduce condensation and energy loss |
| Opening complexity | Combination units, odd shapes, or non-standard sizes take more flashing and labor time than standard rough openings |
| Site access and staging | Where the home sits, how materials get staged, and how far units travel from the driveway affect labor time |
A Practical Checklist Before Windows Go In
Whether you're a homeowner working with a builder or coordinating the build yourself, these are worth confirming before the window crew shows up:
- Rough openings match the window schedule, dimension for dimension.
- WRB is installed and, ideally, has been checked before windows go in over it.
- Flashing sequence follows the manufacturer's installation instructions, not a generic default.
- Weep paths at the sill are unobstructed once the unit is set.
- Sealant is planned only at the joints that should be sealed — not applied as a blanket fix.
- Lead times on the chosen product are confirmed early, given how far out some glass packages and custom sizes can run.
- Install is scheduled around a realistic dry-weather window rather than a fixed calendar date.
If you're building in Bow and want a straight answer on what your window package should look like, we're happy to walk the site and put together a free, no-pressure estimate — no obligation, just a clear look at what the job actually needs.