 Anacortes Window
 Building New in Flounder Bay: What the Climate Actually Demands
Flounder Bay sits close to open water, which means homes here take a different kind of weathering than a house a few miles inland in Mount Vernon or Burlington. Salt-laden air moves through year-round, driving rain comes in sideways off Rosario Strait during winter storms, and the shaded, damp stretches of the year keep moss and algae active on north- and west-facing surfaces for months at a time. None of that is a problem you solve after the fact — it's a problem you design around when the windows go in, because a new-construction install is the one chance to get the water management right before siding, trim, and interior finishes close everything up.
New-construction windows are different from the replacement units most people picture. They install with a nail fin directly into the rough opening, tying into the house wrap and flashing system as part of the wall assembly, rather than fitting inside an existing frame. That makes the install more forgiving in some ways and far less forgiving in others — get the flashing sequence wrong on a new build, and the mistake gets buried behind siding for years before it shows up as rot or a stained interior sill.
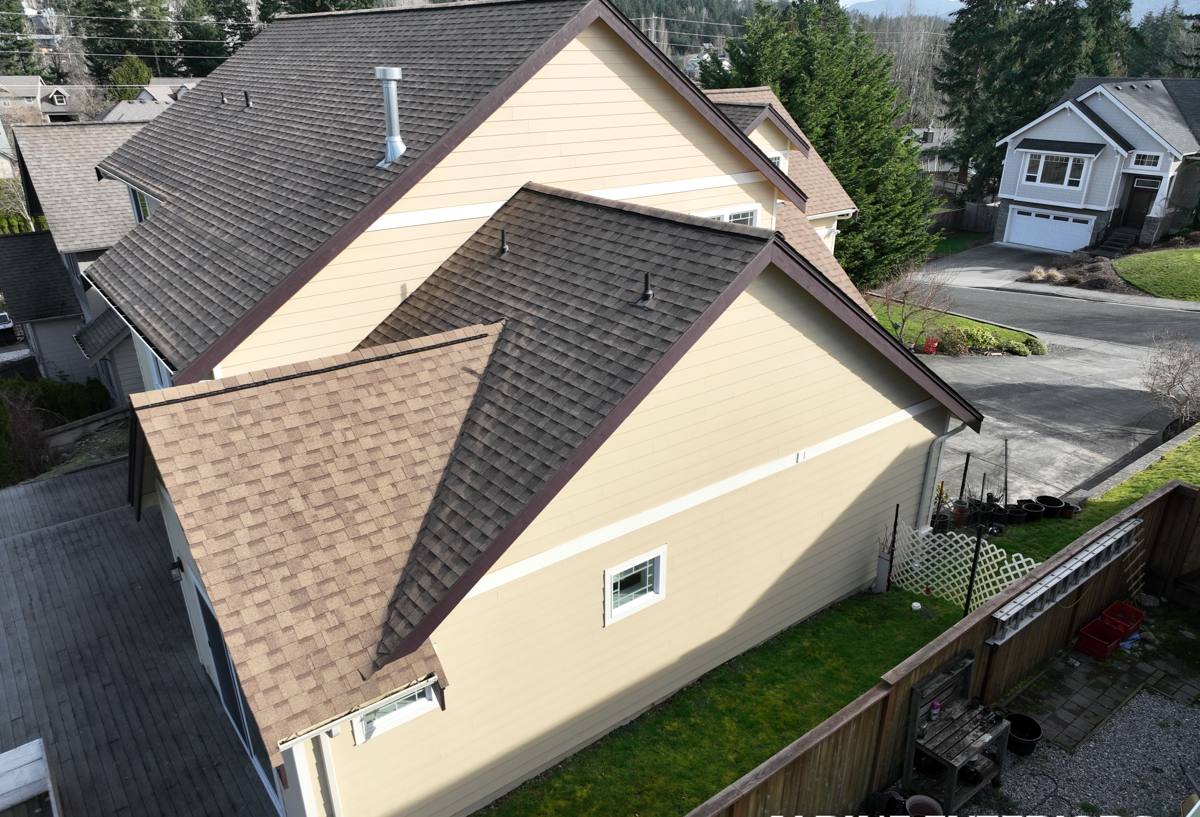
New-Construction vs. Replacement Windows: Why the Distinction Matters Here
On a coastal build, choosing the wrong window type for the stage of construction causes more callbacks than choosing the wrong brand. Here's how the two approaches differ and why it matters for a Flounder Bay build specifically.
| Factor | New-Construction (Nail Fin) | Replacement / Insert |
|---|---|---|
| Installation point | Into open rough framing, before siding and trim | Into an existing finished opening |
| Water management | Flashing integrates directly with house wrap and sill pan | Relies on the condition of the existing opening |
| Best fit for Flounder Bay | New builds, additions, full re-sides down to sheathing | Homes keeping existing siding and trim intact |
| Long-term exposure handling | Built for the wall assembly to shed wind-driven rain from the start | Depends on flashing quality of the original install |
If your project is ground-up new construction, an addition, or a re-side that's stripping walls to the sheathing, nail-fin windows are the right call — and doing it right the first time matters more here than in a drier, more sheltered part of the state.
Getting the Product Category Right Before Anything Else
We confirm rough opening sizes against approved plans before ordering, because a mis-sized opening on new construction usually means a delay waiting on a re-order — there's no existing frame to fall back on the way there is with a replacement job.
What Marine Exposure Means for Frame and Hardware Choices
Salt air accelerates corrosion on anything with exposed metal — hinges, cranks, screws, and lesser-grade cladding all show it faster near the water than they would a few miles inland. For Flounder Bay builds we steer toward frame materials and hardware finishes rated for coastal or marine-grade exposure, and we're upfront when a manufacturer's standard hardware package isn't the right fit for a waterfront lot. That's not a knock on the product line — it's just honest trade-off talk: a hardware upgrade that costs a little more up front is cheaper than replacing pitted cranks and stuck locks five years in.
Vinyl and fiberglass frames generally hold up well against salt exposure with minimal maintenance. Wood-clad units can look excellent but need a clear maintenance commitment from the homeowner — regular inspection of the cladding seams and finish is worth planning for if that's the look you want. We'll walk through the honest maintenance expectations for whatever frame material you're considering before you commit, rather than after installation.
The Flashing and Water-Management Details That Actually Matter
This is the part of a new-construction window install that never shows in the finished photos and matters more than anything else. Anacortes gets wind-driven rain that pushes water sideways and upward against wall assemblies during winter storms — a flashing detail that would be fine in a calmer climate can fail here.
- Sloped sill pan flashing so any water that gets past the window has somewhere to go besides the framing
- Correct shingle-lap sequencing of house wrap over the nail fin — top flap last, so water always runs down and over, never into a seam
- Sealant and backer rod at the right joints, not everywhere — over-sealing traps moisture instead of releasing it
- Weep holes and drainage paths left clear, especially on units near roof lines or wall transitions that see concentrated runoff
- Corner flashing patches at the sill corners, where most water intrusion problems actually originate
We treat this sequence as non-negotiable on every Flounder Bay install, whether it's a single window or a whole house. It's also the step that separates a crew that occasionally installs windows from one that installs them as a primary trade — the sequence has to be second nature, not something read off a manufacturer's install sheet on-site.
Our New-Construction Window Process
1. Plan Review and Product Selection
We review the architectural plans, confirm rough opening sizes, and talk through frame material, glass package, and hardware finish against your budget and the site's exposure — waterfront-facing walls often warrant a different spec than the more sheltered sides of the same house.
2. Coordination With Your Builder or GC
New-construction windows go in on a schedule set by the framing and dry-in timeline, not on our own. We coordinate directly with your general contractor or builder so windows arrive and install at the right point in the sequence — after rough framing inspection, before house wrap and siding close things up.
3. Installation
Each opening gets sill pan flashing, correct shingle-lap integration with the house wrap, level and square setting of the unit, fastening per manufacturer spec, and sealant only where it belongs.
4. Inspection and Walkthrough
Before we move on, every opening gets checked for level, square, proper reveal, and a clean flashing tie-in. We walk the finished openings with you or your builder so everyone sees the same thing before siding covers the details up for good.
Choosing Glass and Frame Packages for Wind and Rain Exposure
Not every wall on a Flounder Bay build faces the same conditions. A window on a sheltered, inland-facing wall can often run a standard package; a window facing open water or prevailing storm direction usually justifies a step up. We help you decide where the upgrade is worth it and where it isn't.
| Cost Factor | What Drives It Up | When It's Worth It in Flounder Bay |
|---|---|---|
| Glass package | Impact-resistant or upgraded low-E coatings | Water-facing walls, exposed elevations |
| Frame material | Fiberglass or clad-wood vs. standard vinyl | Visible street-facing or architectural focal points |
| Hardware finish | Coastal/marine-rated corrosion resistance | Any wall within direct reach of salt air, essentially all of Flounder Bay |
| Flashing detail | Additional sill pan and corner flashing work | Every opening — this isn't optional in this exposure |
We'll give you straight numbers for your specific plan set rather than a generic price list — window pricing swings too much with size, count, and spec to be useful as a rough estimate on its own.
Working With Your Builder or General Contractor
Most of our Flounder Bay work happens as one piece of a larger new-construction project, which means clear coordination with the GC matters as much as the install itself. We confirm rough opening dimensions against the plan set before ordering, communicate directly about the dry-in schedule, and document flashing details at the point of install so there's a clear record if a question comes up later in the build. If your builder already has a preferred window sequence or product line specified, we work within that rather than pushing our own preferences over the plan.
Maintenance in a Salt-Air, Moss-Prone Environment
New windows installed correctly still need a small amount of ongoing attention in this climate. Salt residue builds up on glass and hardware faster near the water and is worth rinsing off a few times a year. North- and west-facing frames in shaded spots are the areas most likely to develop moss or algae film over a wet Skagit County winter — a soft brush and mild cleaner keeps it from taking hold. We're happy to walk you through a simple maintenance routine specific to your home's orientation at the final walkthrough, so you know what to watch for before it becomes a bigger job.
Why Hire a Crew That Already Works Flounder Bay
Flounder Bay's exposure isn't uniform, and a crew that's done work here before knows which walls need the extra flashing detail and which hardware finishes actually hold up. We're an Anacortes-based crew working across Skagit County, and new-construction window installs on waterfront and near-waterfront lots are a regular part of what we do — not an occasional job we adapt general practices to fit. That familiarity shows up in fewer surprises during the build and fewer callbacks after it's done.
If you're planning a new build, addition, or full re-side in Flounder Bay, we'd like to walk the plans with you. Reach out for a free, no-pressure estimate using the form below.