 Anacortes Window
 Building New in Edison? The Window Install Only Happens Once
If you're building new in Edison, you get one shot at doing the window install right before siding, trim, and interior finishes close everything up. Fix a bad replacement-window job later and it's a Saturday project. Fix a bad new-construction window install after the drywall is up and the siding is on, and you're tearing into finished work to get at flashing that should have been right the first time. That's the whole case for new-construction windows: the sequencing, not just the product.
Edison sits in a part of Skagit County where the ground is flat, the air moves off the water, and the rain doesn't let up for months at a stretch. A window install that would hold up fine in a drier inland climate can fail here in ways that don't show up for a year or two — which is exactly when they're hardest to trace back to the install.
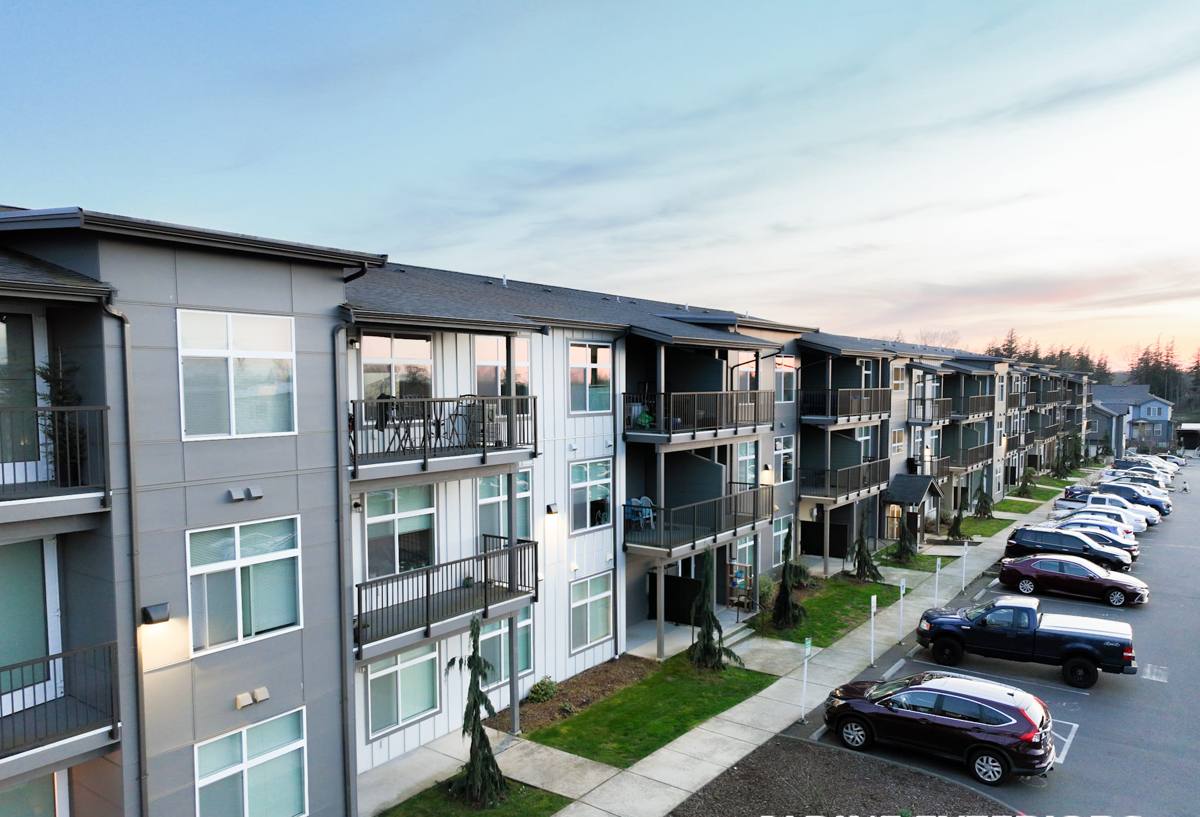
What Edison's Climate Asks of a New Window Install
Salt Air and Corrosion
Edison's proximity to Samish and Padilla Bay means a steady dose of salt-laden air moving across the flats. Salt air is hard on exposed metal — screws, hinge hardware, cladding fasteners, and any unprotected steel components in a window assembly. It doesn't take a direct waterfront lot to feel this; salt travels on wind, and homes a mile or more inland still see it. New construction is the right time to spec corrosion-resistant hardware and fasteners up front, because swapping out corroded components after the window is sealed into the wall assembly is a much bigger job than it would have been at install.
Driving Rain and the Drainage Plane
Storms coming off the Salish Sea don't just drop rain straight down — they push it sideways into vertical wall assemblies. That's driving rain, and it's the single biggest reason new-construction window flashing has to work as a system, not just a caulk bead around the frame. Water will find any gap in the drainage plane over time; the job of the flashing and the weather-resistive barrier (WRB) is to make sure that water sheds back out of the wall instead of behind it.
Moss Season and Long-Term Moisture
Skagit County's long wet season, low winter sun angle, and shaded north and west elevations add up to a moss and algae season that runs much longer here than in drier parts of the state. On windows, this shows up as growth on sills, in track channels, and on trim that stays damp for days after a storm. It's mostly cosmetic, but it's also a signal — persistent moisture sitting on a sill or in a corner means drainage isn't happening the way it should, and that's worth checking during a new build rather than after.
What a Correct New-Construction Window Install Actually Involves
New-construction windows are installed with a nailing fin that attaches directly to the sheathing, integrated into the WRB before siding goes on — different from a replacement window, which is typically installed into an existing opening without disturbing the exterior weather barrier. Getting the sequence right matters more than any single product choice.
Sill Pan Flashing
Every rough opening should get a sloped sill pan before the window ever goes in — a flashing detail that creates a dedicated drainage path out of the opening for any water that gets past the window itself. Skipping this and relying on caulk alone is one of the most common corners cut in production framing, and it's the one that causes the most damage down the road because the failure happens inside the wall, out of sight.
Nailing Fin Integration with the WRB
The WRB has to be lapped correctly around the window opening — building paper or housewrap above the window overlapping the flashing, flashing at the sides overlapping the sill pan, in that specific shingle-style order so water always drains down and out. Get the layering sequence backwards and you've built a funnel instead of a drain.
Shimming and Squaring
A window that's out of square or racked in the opening won't operate correctly and puts uneven stress on the seals over time, which shows up years later as air leaks or water intrusion at a corner. Shimming at the manufacturer's specified points, checking for square and plumb, and fastening through the fin at the correct spacing all matter more in a climate that pushes wind-driven rain against that seal for months at a time.
Sealant: Where It Belongs and Where It Doesn't
Sealant is a backup layer, not the primary defense. It belongs at specific joints per the manufacturer's instructions and the flashing sequence — not smeared around the whole perimeter as a substitute for proper flashing. Over-sealing can actually trap water in the wrong place if it blocks a drainage path that's supposed to stay open.
Choosing Frame Material for This Climate
There's no single "best" frame material for new construction — it depends on budget, maintenance tolerance, and how exposed the building site is. Here's how the common options hold up in Edison's specific mix of salt air, rain, and shaded moss conditions.
| Frame Material | Salt Air / Corrosion | Moisture Behavior | Maintenance |
|---|---|---|---|
| Vinyl | Not affected by salt (no metal corrosion risk) | Won't rot; can show UV wear over decades | Low — occasional cleaning |
| Fiberglass | Excellent — very stable, minimal metal exposure | Dimensionally stable across wet/dry cycles | Low |
| Wood-clad | Cladding protects wood, but any breach exposes wood to rot risk | Best appearance, but needs the cladding seal intact | Higher — watch seams and corners |
| Aluminum | More prone to corrosion in salt air unless properly coated | Can conduct condensation without thermal breaks | Moderate |
For most Edison new builds, vinyl and fiberglass are the practical default because they hold up without ongoing upkeep in a climate that already asks a lot of exterior surfaces. Wood-clad windows can be the right call for a specific architectural look, but it's worth going in with clear eyes about the maintenance commitment that comes with the appearance.
Energy Code and Egress: What Skagit County Requires
New construction in Washington has to meet the Washington State Energy Code, which sets minimum U-factor requirements for window assemblies — a measure of how much heat the window lets escape. Your builder or designer will have already run these numbers into the overall building envelope calculation, but it's worth confirming the window U-factors specified on your plans match what's actually being ordered, since substitutions happen during framing more often than people expect.
Bedrooms also have egress requirements — a minimum clear opening size and sill height so a window can serve as a fire escape route. This gets checked at framing inspection, but it's far easier to confirm before the opening is framed than after the window arrives and doesn't fit the code requirement for that room.
Coordinating with Your Builder or GC
New-construction window work doesn't happen in isolation — it sits between the framer, the WRB installer, and the siding crew, and the sequencing has to line up. We work directly with your general contractor's schedule rather than around it: showing up when the opening is framed and ready, coordinating the WRB lap sequence with whoever's running housewrap, and confirming siding can proceed cleanly once the windows are set and flashed. Miscommunication at this handoff is where most sequencing mistakes happen, and it's avoidable with a short conversation up front.
Our Process for New-Construction Projects in Edison
- Review plans and window schedule against the rough openings and code requirements before ordering
- Confirm frame material, U-factor, and hardware specs suited to the site's exposure
- Coordinate timing with your GC around framing completion and WRB installation
- Install sill pan flashing, set and shim each window square and plumb, integrate the fin with the WRB in proper shingle-lap order
- Walk the openings with your builder before siding closes them up, so any issue is caught while it's still cheap to fix
A Homeowner's Checklist Before Windows Go In
- Confirm your window schedule's U-factors match the energy code calculation your builder submitted
- Check bedroom windows meet egress sill height and clear opening requirements
- Ask what sill pan flashing detail is being used at each rough opening
- Confirm the WRB lap sequence (paper/housewrap over flashing, flashing over sill pan) before siding starts
- Decide on frame material with your site's actual exposure in mind, not just the showroom sample
- Get the flashing and fin fastening inspected before it's covered by siding
Why a Crew That Already Works Edison Matters
A window crew that's worked new construction across Skagit County knows what driving rain off the Samish flats does to a poorly flashed opening, knows how long the moss season really runs on shaded elevations, and isn't guessing at how salt air treats hardware over a decade instead of a showroom warranty period. That local track record matters more on new construction than on a replacement job, because there's no existing installation to learn from — the first install is the only one, and it has to account for this specific climate from day one.
We also know the practical side of building here: how Skagit County inspections typically sequence with framing and WRB work, and how to keep a window install from becoming the bottleneck that holds up your siding crew.
If you're framing a new build in Edison and want the window package planned out before openings go in — or you just want a second set of eyes on what's already spec'd — reach out for a free, no-pressure estimate. There's a short form below to get started.