 Anacortes Window
 Building on the west side of Anacortes means building for exposure. That part of town faces more open water and more direct weather than the sheltered pockets closer to the harbor, and the windows you choose — and how they're installed before the siding ever goes on — end up mattering more here than they would on a calmer lot. New construction gives you one real opportunity to get that right, before the wall is closed up and the only way to fix a bad detail is to open it back up. We work new-construction window packages for builders and homeowners in West Anacortes and understand what that particular stretch of Skagit County coastline asks of a window install.
New Construction Isn't Just Smaller-Scale Replacement
Replacement window work and new-construction window work solve different problems, and the products and methods aren't interchangeable. On a replacement job, we're often fitting into an existing rough opening and working around finished siding and interior trim that's staying in place. On new construction, we're setting windows into a framed, unfinished wall — no siding, no interior finish, no old flashing to work around or correct. That's an advantage if it's used correctly, and a liability if it isn't.
The windows themselves reflect that difference. New-construction windows typically have a nailing flange (sometimes called a nail fin) built into the frame, which gets fastened directly to the sheathing and integrated with the water-resistive barrier before siding covers it. Replacement windows are usually block-frame units designed to tuck into an existing opening without disturbing the exterior cladding. Using the wrong type, or installing the right type with the wrong sequence, is one of the more common ways a new build ends up with a water problem that doesn't show up until a few wet seasons later.
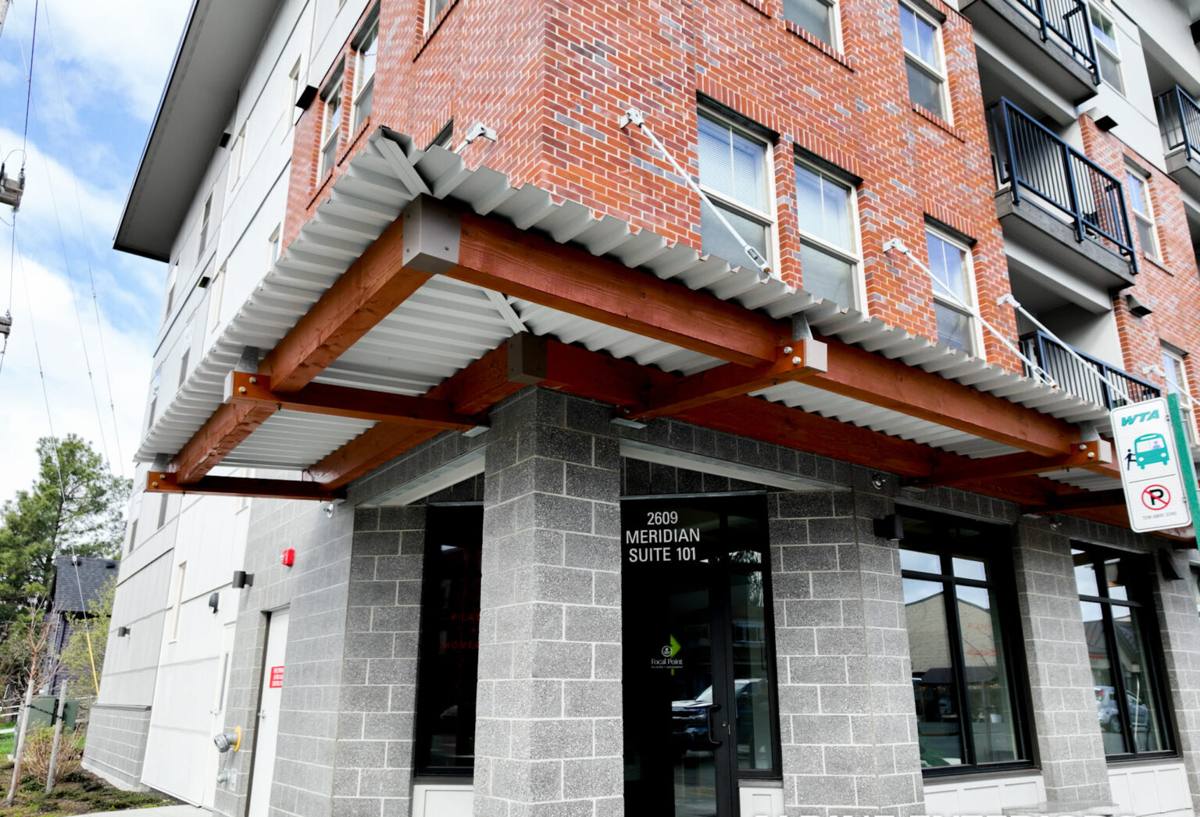
What West Anacortes' Exposure Asks of a Window Install
Fidalgo Island doesn't have one climate — it has several, depending on which direction a lot faces and how much shelter it gets from terrain or tree cover. Lots on the west side generally see more wind and more direct rain off the water than lots tucked farther into town, and that changes what "correctly installed" needs to mean.
Wind and Driving Rain
Wind-driven rain doesn't fall straight down — it gets pushed sideways and upward under sills and around trim, which is exactly where a marginal flashing detail fails. On a more exposed West Anacortes lot, we pay close attention to sill pan flashing, head flashing laps, and how the window integrates with the water-resistive barrier, because the margin for error is smaller than it would be on a sheltered inland site.
Salt Air and Hardware
Salt-laden air off the water accelerates corrosion on fasteners, hinges, and hardware that isn't rated for it. On a new build, that's worth thinking through at the specification stage — before the windows are ordered — rather than discovering years later that hardware on a west-facing elevation is corroding faster than the rest of the house.
Moss, Moisture, and a Long Wet Season
Skagit County's moss season runs long, and it's not just a roofing issue. Shaded or damp-prone window sills and trim can hold moisture longer than they would in a drier climate, which is part of why frame material and drainage detailing matter as much as the glass itself.
Getting the Rough Opening and Flashing Sequence Right
On new construction, the window install is really a sequencing problem as much as a product problem. Framers, the window crew, and the siding crew all touch the same opening, and if the order or the details are off, nobody notices until water shows up inside a finished wall. A correct sequence generally looks like this:
- Rough openings framed to the manufacturer's specified dimensions, with square, plumb, and level checked before any window goes in
- Water-resistive barrier installed and lapped correctly around the opening, with a sloped sill pan flashing installed before the window is set
- Window set into the opening, shimmed and fastened per the manufacturer's instructions — not just nailed to whatever feels snug
- Head flashing installed over the top of the window, integrated so it sheds water onto the WRB rather than behind it
- Flashing tape or housewrap tape lapped in the correct order — sill first, then jambs, then head — so every layer drains onto the one below it
- Interior air sealing and insulation around the frame, since a gap here is an energy loss and a condensation risk, not just a draft
None of that is unusual or exotic — it's the standard sequence for a correct install. What changes on a more exposed West Anacortes lot is how little tolerance there is for skipping a step or rushing a lap. A detail that gets away with being "close enough" on a sheltered inland lot is more likely to leak on a west-facing wall that takes direct wind-driven rain.
Choosing Frame Material and Glazing for a Coastal New Build
New construction is the right time to think about frame material, because you're specifying from a full product line rather than working around whatever fits an existing hole. The trade-offs are real, and they show up differently depending on exposure, budget, and how the house is finished.
| Frame Material | Moisture & Salt-Air Behavior | Maintenance | Relative Cost |
|---|---|---|---|
| Vinyl | Doesn't rot or corrode; can become brittle with age and UV exposure over many years | Low — no painting needed | Lower |
| Fiberglass | Dimensionally stable, holds up well to moisture and temperature swings | Low | Mid to higher |
| Wood-clad | Good performance if clad and flashed correctly; exposed wood is vulnerable if a seal fails | Higher — depends on clad finish | Higher |
| Aluminum | Strong, slim profile, but conducts heat/cold and needs corrosion-resistant hardware near salt air | Low to mid | Mid to higher |
There's no single "correct" answer for every project — it depends on architectural style, budget, and how exposed a given elevation is. What we do on every new-construction job is talk through those trade-offs against the specific lot, not just hand over a catalog and let the numbers make the decision.
Energy Code and Performance on a New Build
Washington's energy code sets minimum performance requirements for new construction, and windows are one of the bigger levers in that calculation because glass loses heat faster than an insulated wall. Depending on the compliance path your builder is using — prescriptive or performance-based — the window schedule may need to hit specific U-factor and solar heat gain targets, and those numbers can vary by orientation and total glazing area on the house. We coordinate with builders and, where needed, with the energy code documentation so the window package that gets ordered actually satisfies what the permit requires, rather than finding out at inspection that a spec needs to be revisited.
Beyond the code minimum, a marine climate like this one rewards windows with a lower U-factor than the bare minimum, simply because the house spends so much of the year needing to hold heat in and keep damp air out. That's worth discussing case by case rather than defaulting to whatever number just barely passes.
Working With Your Builder or General Contractor
Most of our new-construction window work comes through coordination with a general contractor or framing crew rather than directly with a homeowner standing on site every day. That coordination matters:
- Confirming the window schedule against actual framed openings before ordering, since a rough opening that's off by even half an inch can mean a special order or a delay
- Agreeing on install timing with the framing and siding trades so flashing and WRB integration happen in the right sequence, not out of order to save a day
- Flagging any elevation that needs extra attention — typically west- and south-facing walls on more exposed lots — before the windows are ordered, not after
- Keeping documentation of the install for warranty purposes, since manufacturers often require proof of correct installation method to honor a window warranty
If you're a homeowner working with your own builder, we're glad to coordinate directly with them rather than requiring you to be the go-between on technical details.
Our New-Construction Window Process
- Plan review. We look at the window schedule, elevations, and rough opening dimensions on the plan set before anything is ordered.
- Product selection. We walk through frame material, glazing, and performance options against the lot's exposure and the project budget.
- Rough opening verification. Once framing is up, we check actual openings against the ordered sizes before windows arrive, catching mismatches early.
- Installation. Sill pan flashing, window set and fastened to spec, head flashing, and correct WRB lap sequence — documented as we go.
- Final check. Before siding closes the wall, we confirm every opening is flashed and sealed correctly, since this is the last point anyone can see it without opening the wall back up.
Why a Crew That Already Works West Anacortes Matters
Exposure varies block by block on Fidalgo Island, and a crew that's worked lots on the west side repeatedly has a feel for which elevations are going to take the brunt of a winter storm and which flashing shortcuts actually cause problems here versus ones that might get away with it somewhere more sheltered. That's not something a spec sheet tells you — it comes from doing the work in this specific place, on this specific coastline, over and over. It also means fewer surprises coordinating with local building officials and other trades who are used to working with us, which keeps a new-construction schedule moving instead of stalling on avoidable back-and-forth.
If you're planning a new build or working through a window schedule with your builder in West Anacortes, we're happy to take a look at the plans and talk through what makes sense for your specific lot. Reach out for a free, no-pressure estimate — we'll give you a straight answer, not a sales pitch.